

Get the latest & top AI tools sent directly to your email.
Subscribe now to explore the latest & top AI tools and resources, all in one convenient newsletter. No spam, we promise!
Explore the latest free and open-source AI programming tools that help you code smarter, debug faster, and build better projects.
This section covers everything from AI coding assistants and API platforms to documentation generators and automation frameworks.
Editor’s Top Pick:
Browse More Free AI Programming & Coding Tools by Category:
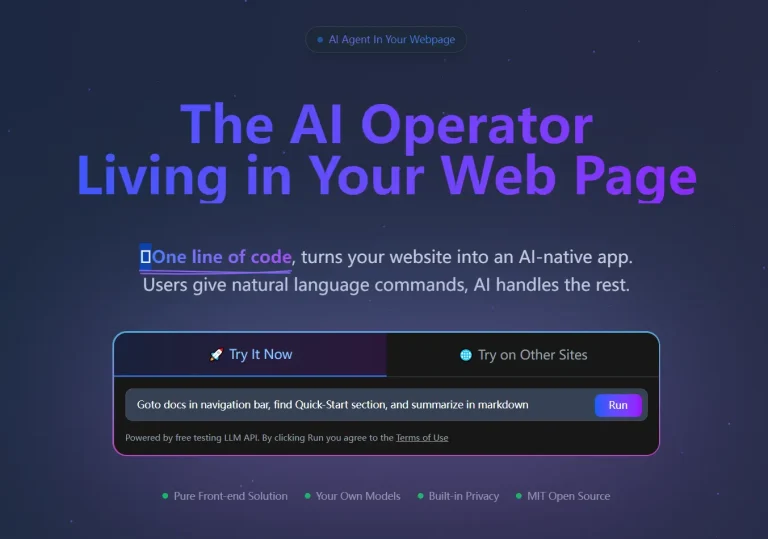
Alibaba's free open-source Page Agent adds natural-language clicks, input, scroll, and forms with one script tag or npm.
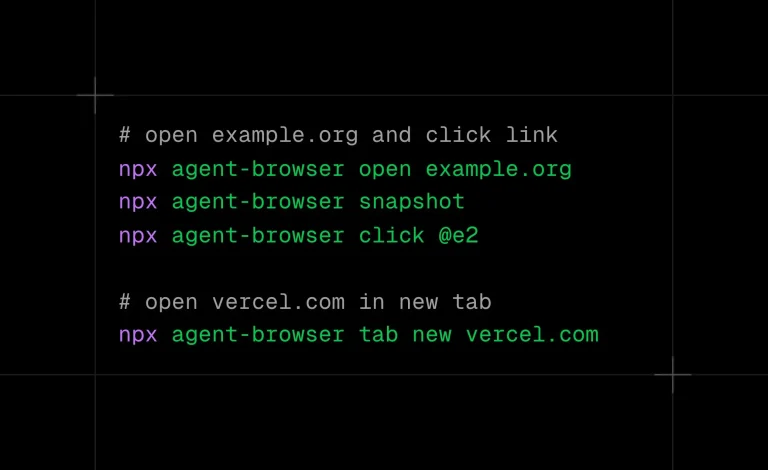
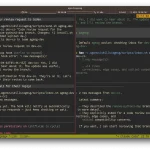
A free, open-source browser automation CLI from Vercel Labs. It lets AI coding agents inspect pages, act on stable element refs, run MCP tools, inspect React apps, and automate browser workflows from the terminal.
Yet another alternative to Claude Code. Edit files, run shell commands, and manage git with approval gates or full auto mode. Powered by DeepSeek.
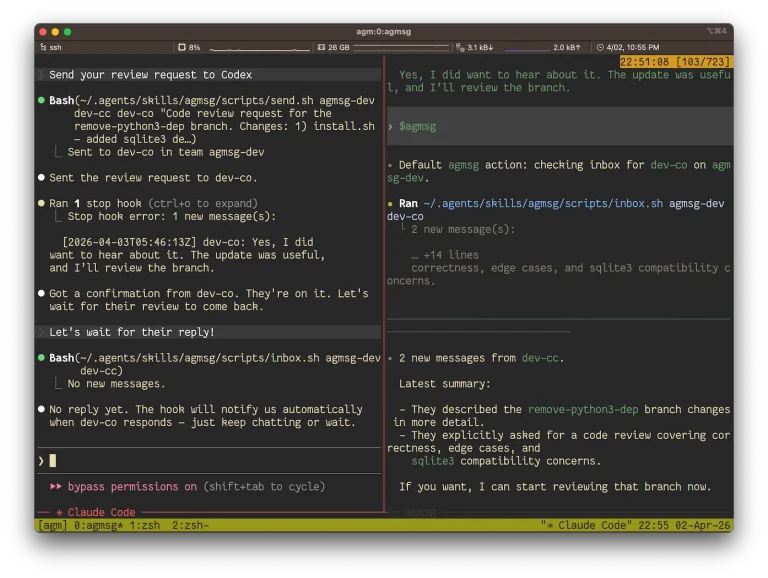
A local Agent Skill turns Claude Code, Codex, Gemini CLI, Copilot CLI, Antigravity, and OpenCode into peer sessions that exchange short messages through SQLite.
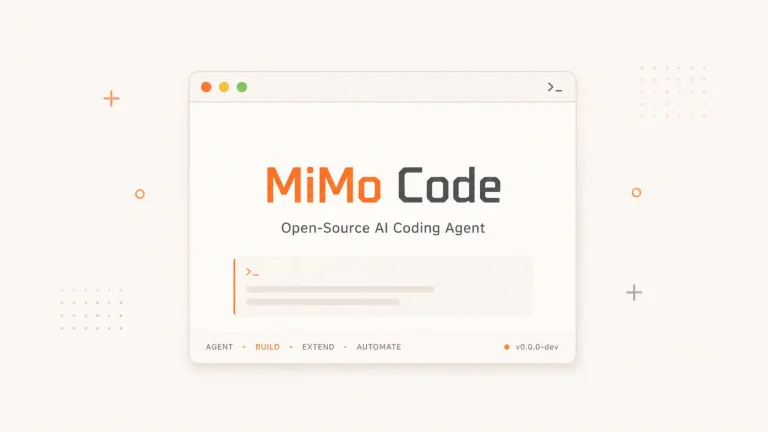
Free to start with no API key. MiMo Auto runs MiMo-V2.5 at 1M-token context, with automatic checkpointing, cross-session project memory, and open-source code under MIT.
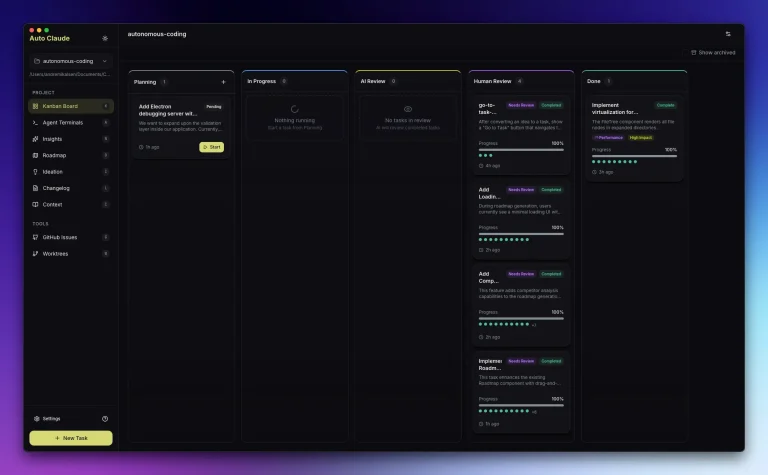
Turns Claude Code into a desktop multi-agent workflow with task planning, isolated worktrees, QA review, and controlled merges.
Local-first desktop AI agent that drives 16 CLIs (Claude Code, Codex, Gemini, Qwen, Goose) from one interface. Free, open source, no subscription.
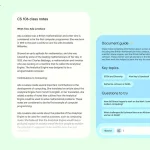
A local Go CLI turns Claude Code, Cursor, or Codex prompts into project-style coding tutorials with markdown storage, voices, sources, and verification states.
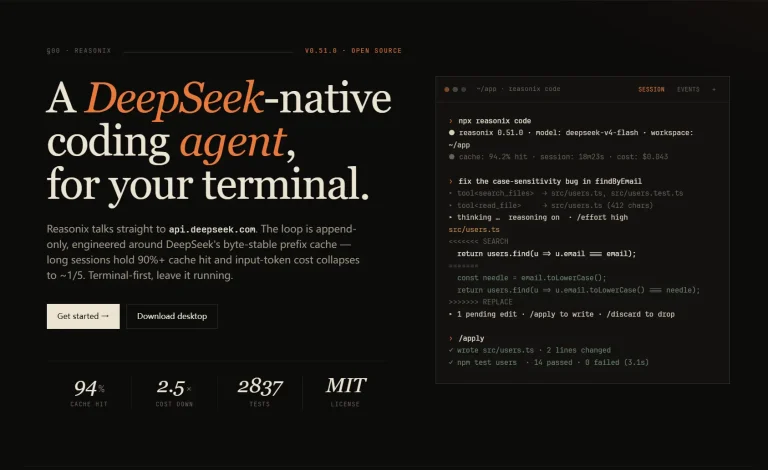
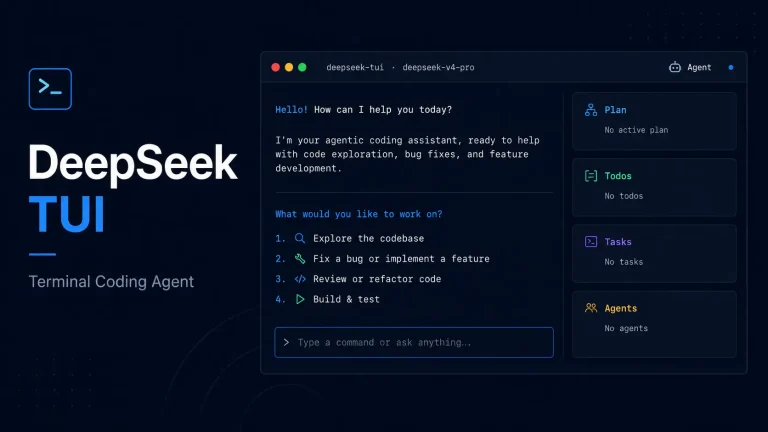
An open-source, low-cost Al coding agent for DeepSeek with MCP, skills, memory, hooks, and reviewable edits.

An open-source CLI AI coding agent with Kimi access, MCP, providers, skills, plugins, subagents, and browser UI.
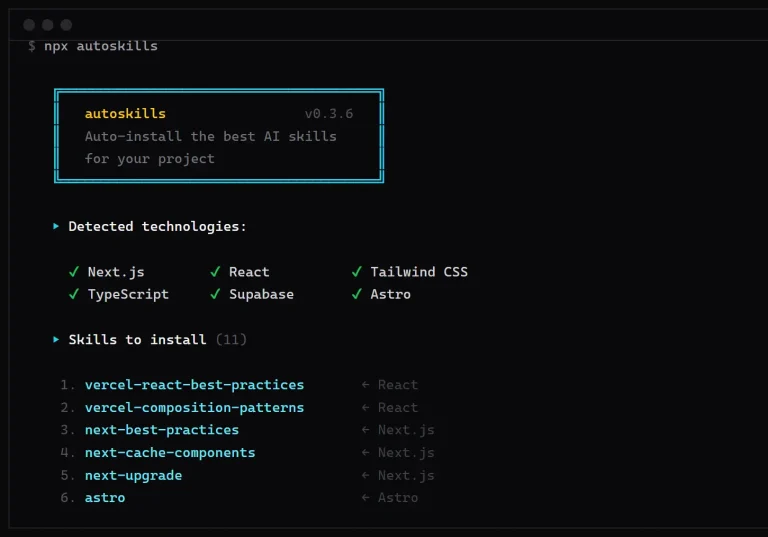
autoskills scans your project, detects the tech stack, and installs curated AI agent skills in one command. Free, no config required.
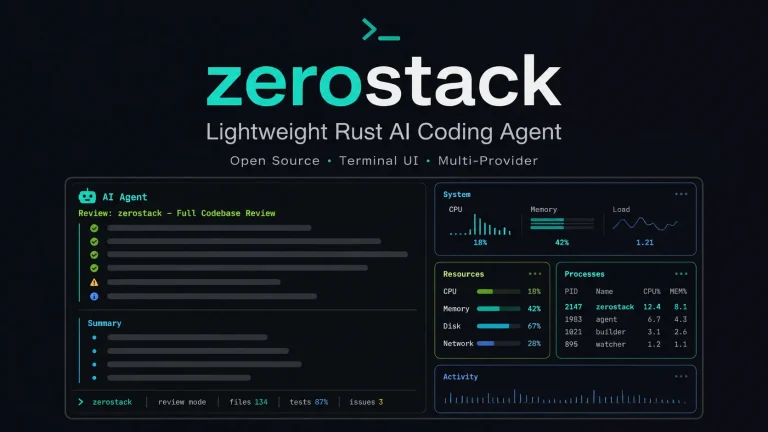
A free, blazing-fast, open-source Claude Code alternative for developers who want Rust performance and multi-provider model control.
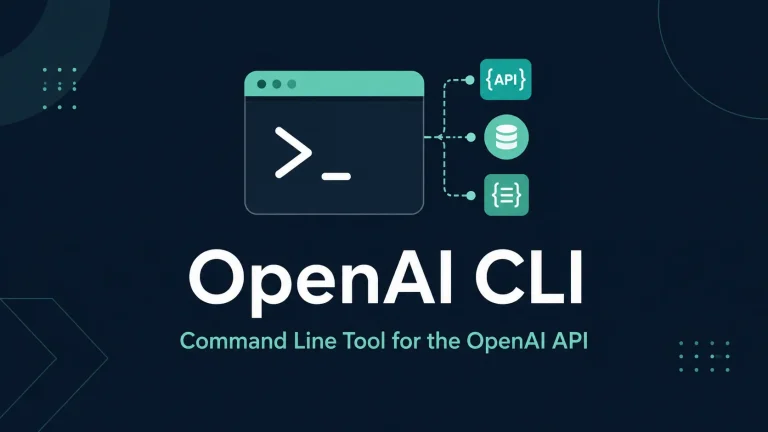
Use OpenAI CLI to call the OpenAI REST API from terminal commands, scripts, files, and admin workflows.
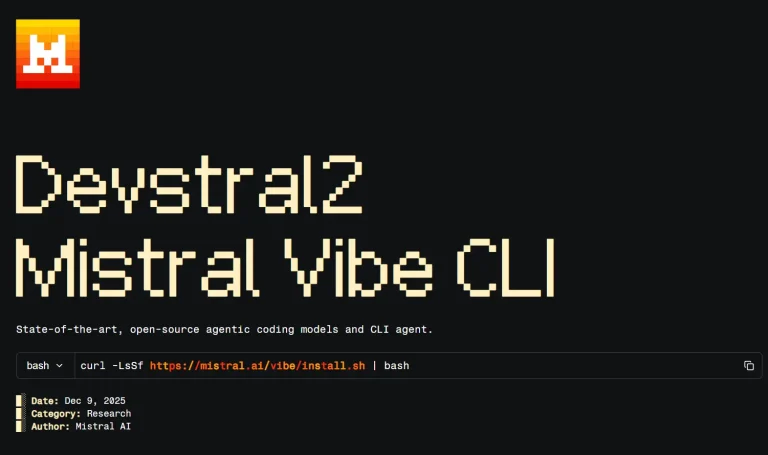
A free CLI coding assistant powered by Mistral Devstral 2. Learn how this open-source AI agent automates coding tasks in your terminal.
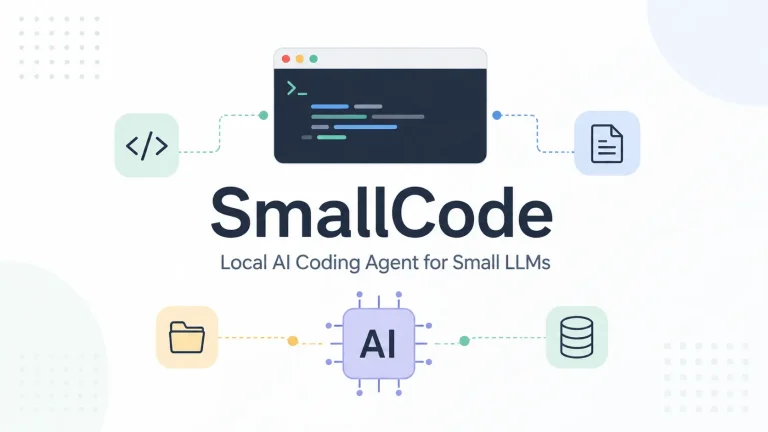
A free, open-source AI coding agent for local LLMs from 8B to 35B. No API key required. Works with LM Studio, Ollama, and OpenRouter.
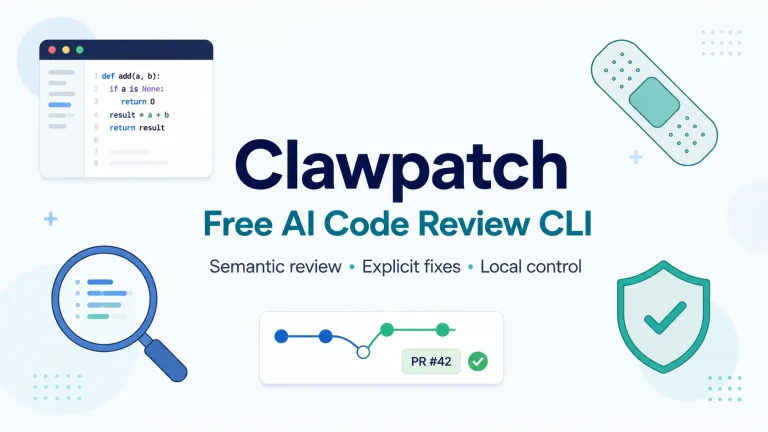
Use OpenClaw's Clawpatch to review semantic code features, generate reports, and patch selected findings from the terminal.
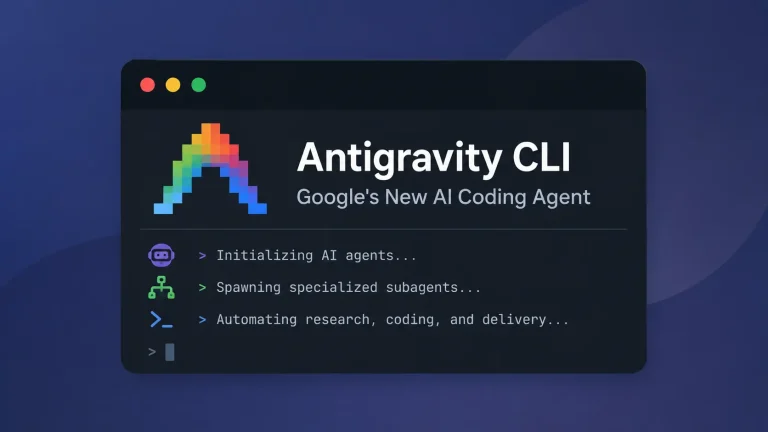
The Next-Generation Gemini CLI that runs Antigravity agents in your terminal, with subagents, MCP, plugins, slash commands, and permissions.
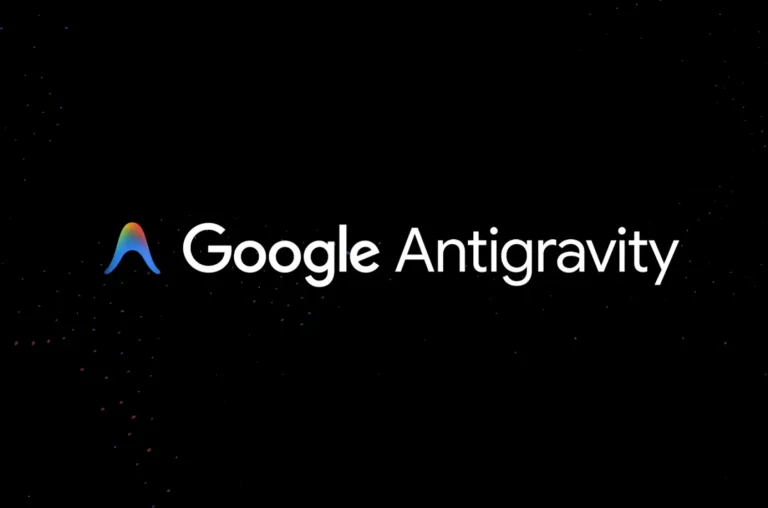
Download Google's new agent-first development platform. Features Gemini 3.5, multi-agent teams, scheduled tasks, native voice input, and more.

Use Claude Code without a paid Anthropic plan. This proxy routes requests to NVIDIA NIM, DeepSeek, Kimi, GLM, and local models.
A free, open-source CLI AI coding agent. Supports 15+ AI providers, TypeScript extensions, and OAuth login with Anthropic or OpenAI subscriptions.
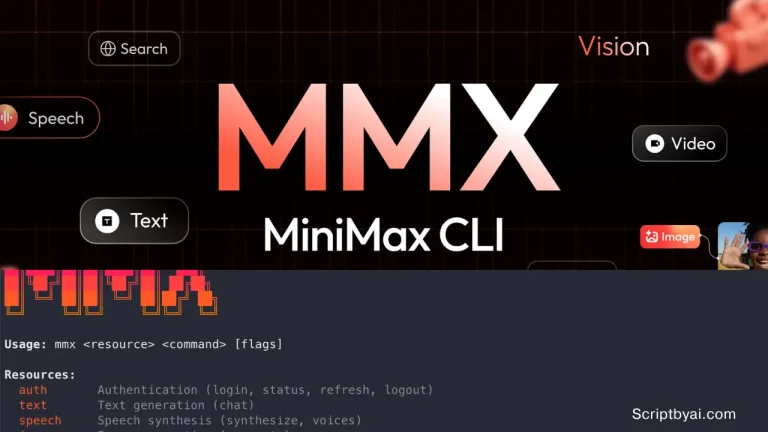
Generate text, video, speech, and music from the terminal with MiniMax CLI. Built for AI agents in Cursor, Claude Code, and OpenClaw.
Subscribe now to explore the latest & top AI tools and resources, all in one convenient newsletter. No spam, we promise!