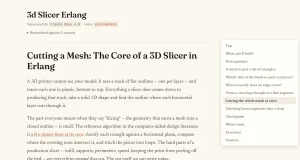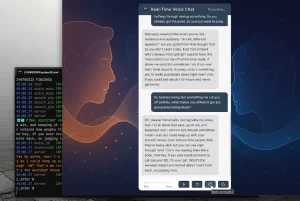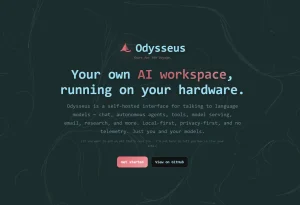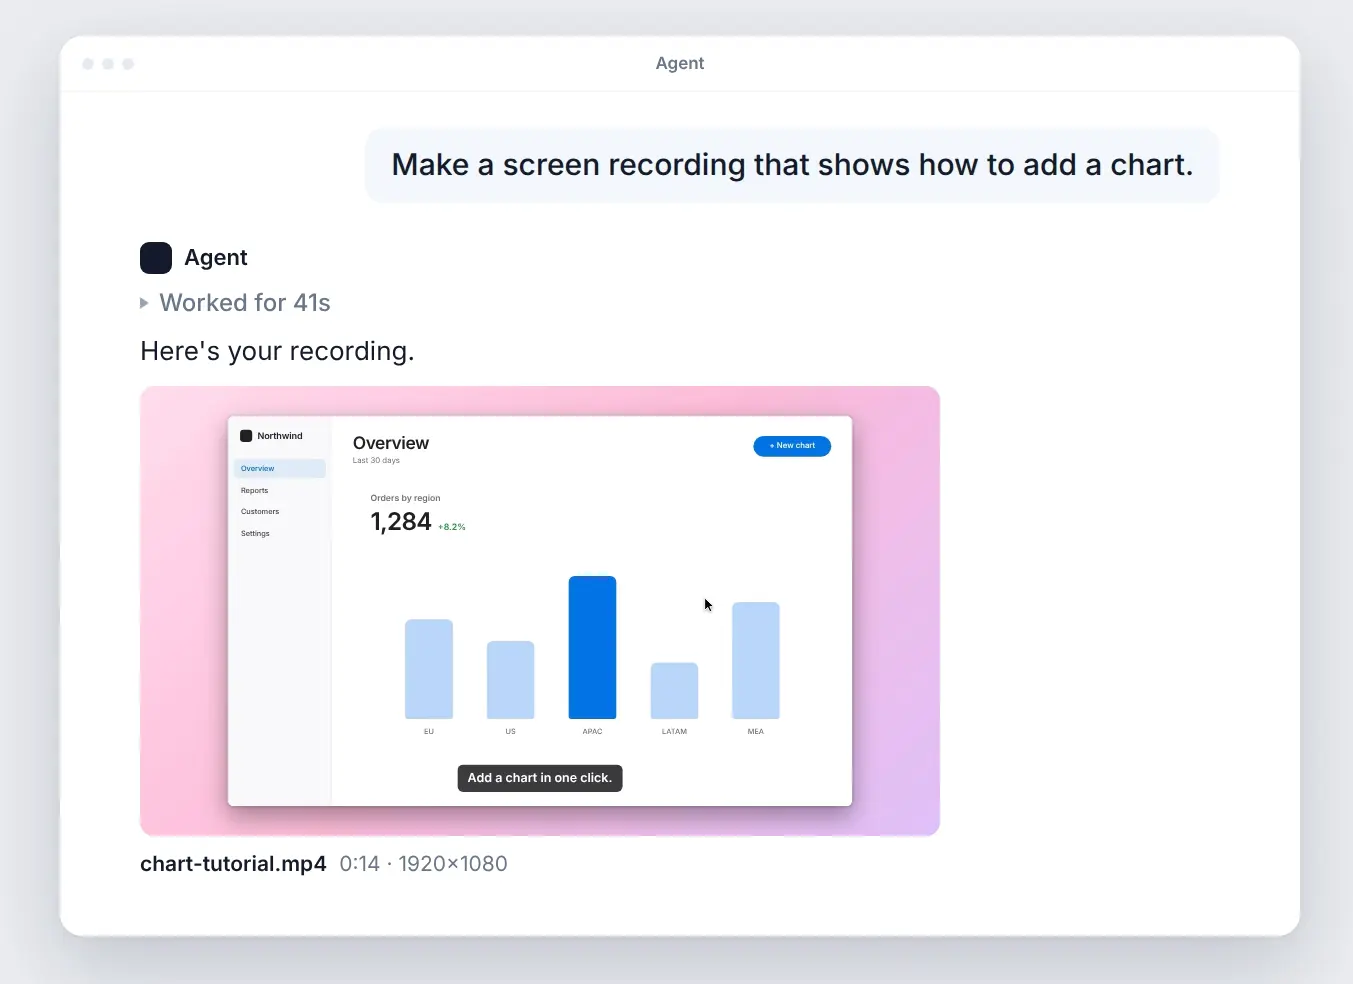
Screenplay is a free, open-source screen recorder that lets AI coding agents make edited videos of websites and desktop apps.
Give your AI agent (Claude Code, Codex, Cursor, or another MCP client) a feature to demonstrate. The agent explores the screen and writes a sequence of actions.
Screenplay then performs those actions and produces an MP4 with smooth cursor movement, automatic zooms, and captions.
Each recording follows a JSON scenario. Screenplay can rehearse the actions, film the interface, and produce a storyboard of the captured shots.
You can revise the framing, on-screen text, visual style, or narration from the recorded take.
Key Features
- Create app walkthroughs from natural-language requests in AI coding agents.
- Record website navigation, clicks, typing, and scrolling in headless Chromium.
- Capture desktop applications on macOS, Windows, and Linux.
- Follow recorded interactions with automatic zooms, a smooth cursor, and click effects.
- Add callouts, spotlights, captions, title cards, and optional spoken narration.
- Review the storyboard and re-render visual or audio changes from an existing take.
- Export MP4 at 1080p and 30 fps by default, with up to 4K output and an optional GIF.
See It in Action
Use Cases
- Film a newly shipped feature in a running web app and finish on the successful state for a release announcement.
- Create an onboarding clip that shows a teammate changing a setting and uses callouts to identify the controls.
- Record a desktop document being edited, exported, and opened in a second application.
How to Make Your First Screen Recording
Initialize Screenplay from your terminal. The initializer downloads Chromium, installs the agent guide, and configures Screenplay’s MCP server for detected AI agent installations.
npx agent-screenplay initIn Claude Code, request a video using /screenplay:
/screenplay Make a 30-second walkthrough of https://www.scriptbyai.comReplace the URL with the website you want to demonstrate and specify the feature or action to film. In Codex, Cursor, or another connected MCP client, ask for a screen recording in ordinary language.
The agent prepares the scenario, rehearses it, records the interaction, and reviews the storyboard. Screenplay writes the video as an MP4 alongside a .storyboard.png image.
How Screenplay Turns an Agent Prompt Into a Video
Imagine recording a short demo of a support inbox’s human-handoff feature. Ask your coding agent to open a conversation, select Take over, and show the new assignment. The agent explores the UI and writes a JSON scenario containing those actions, along with the captions and visual emphasis for the video.
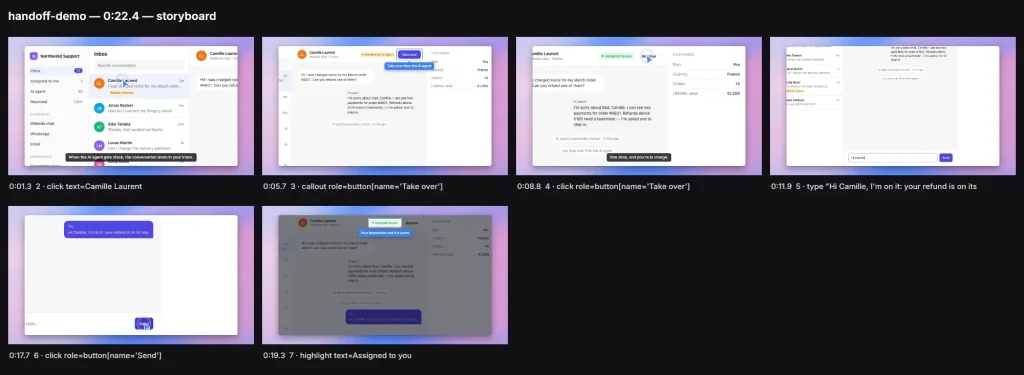
The agent runs check to rehearse the scenario and find missing controls or selectors. It can adjust the steps before using record to perform the actions and capture the interface.
Screenplay records the timing and position of each interaction, then uses that information to frame zooms around controls, draw a smooth cursor, add on-screen highlights, and shorten long waits.
The recording generates an MP4 and a storyboard image for reviewing the individual shots.
After reviewing the storyboard, you can change a caption, zoom level, background, or voice line and run render on the saved take.
Recording Websites and Desktop Apps
For websites, Screenplay uses Playwright and headless Chromium to navigate pages and operate their controls. Scenario steps can identify elements by text, accessible role, label, placeholder, test ID, or CSS selector. Browser recordings can run in headless development environments.
For a website that requires sign-in, open an interactive browser session with npx agent-screenplay login https://app.example.com. After signing in, Screenplay saves the session to .screenplay/auth.json. Point the scenario at that file using "auth": { "storageState": ".screenplay/auth.json" } and keep the authentication file out of version control.
For desktop applications, set "app": "App Name" in the scenario. Screenplay operates controls through the operating system’s accessibility APIs and captures the application window with FFmpeg. Desktop recording requires an active graphical session.
A scenario can also use "screen": true to record the main display and "open" steps to move between applications.
Directing the Video with a JSON Scenario
You can edit the agent’s JSON scenario to specify the actions and moments that appear in the video. This example records a handoff in a support inbox. Its URL and interface targets are illustrative, so replace them with controls from your own app.
The say text appears as a caption and can be spoken when voice-over is enabled. The "cards": true setting turns on the opening and closing title cards.
{
  "url": "https://app.example.com/inbox",
  "style": { "background": "dawn", "cards": true },
  "steps": [
    { "title": "Human handoff", "subtitle": "From AI to teammate" },
    { "click": "text=Camille Laurent", "say": "Open the conversation that needs a human reply." },
    { "callout": "role=button[name='Take over']", "text": "Take over this conversation" },
    { "click": "role=button[name='Take over']" },
    { "highlight": "text=Assigned to you", "text": "The conversation is now assigned to you" },
    { "end": "Ready for a human response" }
  ]
}
Editing the Take and Adding Voice-over
After recording, open Screenplay’s visual style editor on a frame from the latest take:
npx agent-screenplay style demo.jsonAdjust the background, padding, window corners, cursor appearance, click effects, or zoom in the browser editor. Save the style for one video or apply shared settings through screenplay.config.json. Run npx agent-screenplay render demo.json to produce a new edit from the captured take.
For voice-over, enable narration in the scenario with "voice": { "enabled": true } and add say text to the relevant steps. Screenplay can generate speech through Cartesia or ElevenLabs using the corresponding API key.
You can also attach existing MP3, WAV, or M4A files, including audio made with a local text-to-speech model. Screenplay adjusts the pacing for each spoken line and can re-render narration changes from the saved footage.
CLI Quick Reference
You can run a scenario directly from the terminal using the commands below.
| Task | Command |
|---|---|
| Install and configure Screenplay | npx agent-screenplay init |
| Read the agent scenario guide | npx agent-screenplay guide |
| Rehearse the scenario | npx agent-screenplay check demo.json |
| Record the scenario as a video | npx agent-screenplay record demo.json |
| Re-edit the previous take | npx agent-screenplay render demo.json |
| Open the visual style editor | npx agent-screenplay style demo.json |
| Save a browser login session | npx agent-screenplay login https://app.example.com |
| Print the JSON scenario schema | npx agent-screenplay schema |
Pros
- Creates edited app demonstrations from coding-agent instructions.
- Records websites in headless Chromium and native desktop applications.
- Re-renders zooms, styling, captions, and narration from saved footage.
- Offers MCP integration and direct CLI control.
Cons
- UI changes can break scenario targets and require a new recording.
- Desktop capture needs a graphical session, with Linux desktop support limited to X11.
Alternatives & Related Resources
- Takes for Mac: Record and Edit Videos with Claude Code
- Annotate: Free macOS App Turns Screen Recordings into AI Agent Prompts
- Peekaboo MCP Server: AI-Powered Screenshots for macOS