Clevrr Computer is an open-source computer automation tool inspired by Anthropic’s “Computer Use” concept.
It uses AI agents (Azure OpenAI, Google Gemini, etc) and the PyAutoGUI library to perform system actions, automating keyboard, mouse, and screen interactions with precision.
Features
- Screen analysis and intelligent navigation
- Automated mouse and keyboard control
- Screenshot capture and window management
- Multi-modal AI processing
- Error handling with user feedback
- Safety protocols for system interactions
- Chain-of-thought task execution
Use Cases
- Automated Software Testing: Clevrr Computer can automate repetitive testing procedures, interacting with software interfaces just like a human tester. This frees up human testers for more complex tasks.
- Data Entry and Form Filling: Imagine automatically populating forms with data from spreadsheets. Clevrr Computer can handle this, reducing manual data entry and minimizing errors.
- Content Creation Workflow: Clevrr Computer can automate parts of a content creation workflow, such as resizing images, uploading files, or scheduling posts, increasing efficiency.
- Robotic Process Automation (RPA): Businesses can use Clevrr Computer to automate repetitive tasks within their existing software systems, reducing manual effort and improving workflow efficiency.
- Accessibility Tool: For users with limited mobility, Clevrr Computer can provide an alternative way to interact with computer systems through voice commands and automated actions.
How It Works
Clevrr Computer uses a multi-modal AI agent coupled with a screen capture mechanism. The agent receives a task, develops a plan, and uses the get_screen_info tool to capture and analyze screen content. A multi-modal LLM interprets the screen and guides the agent. The agent then executes actions using the PythonREPLAst tool and PyAutoGUI.
Pros
- Open-source and freely available.
- Automates tedious tasks.
- Offers flexibility through model choices (OpenAI or Gemini).
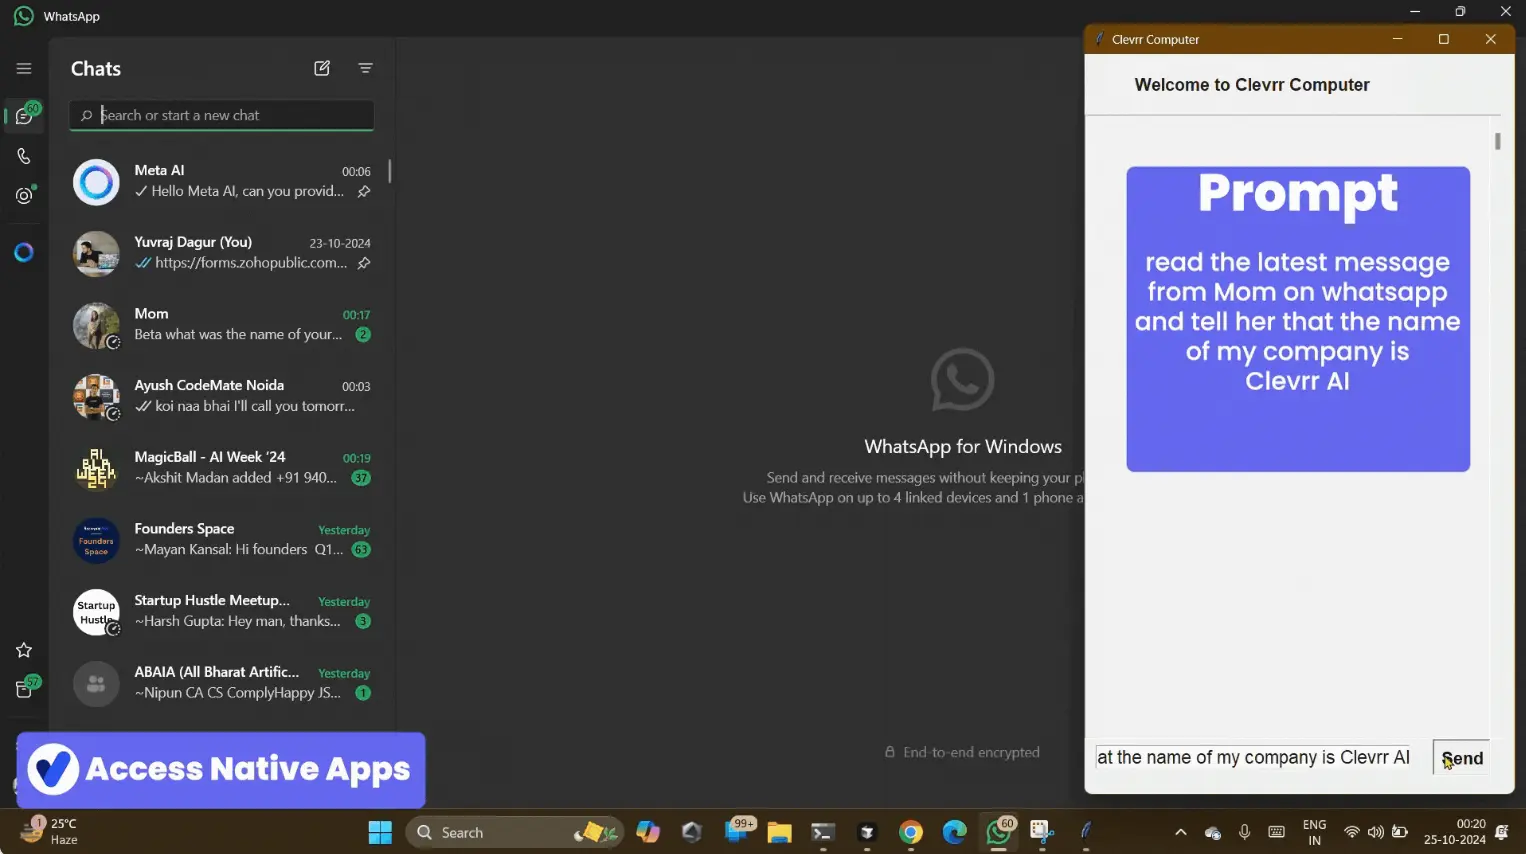
- Provides a floating user interface for easy interaction.
Cons
- Beta software with potential instability.
- Security risks associated with system-level access.
- Requires technical knowledge to set up and configure.
- Potential for unintended actions if not used carefully.
Installation
To get started, make sure you have Python and Git installed on your system before you begin.
1. Clone the Repository: Open your terminal or command prompt and clone the Clevrr Computer repository using Git:
git clone https://github.com/Clevrr-AI/Clevrr-Computer.git2. Navigate to the Directory: Change your current directory to the newly cloned repository:
cd Clevrr-Computer3. Install Dependencies: Clevrr Computer relies on several Python libraries. Install these dependencies using pip:
pip install -r requirements.txt4. Set Up Environment Variables: Clevrr Computer uses a .env file to store API keys and configuration settings.
- Rename the existing
.env_devfile to.env:
mv .env_dev .env- Open the
.envfile with a text editor and add your API keys for either Azure OpenAI or Google Gemini. You’ll need to obtain these keys from the respective providers. Fill in the following placeholders:
   AZURE_OPENAI_API_KEY=<YOUR_AZURE_API_KEY>
   AZURE_OPENAI_ENDPOINT=<YOUR_AZURE_ENDPOINT_URL>
   AZURE_OPENAI_API_VERSION=<YOUR_AZURE_API_VERSION>
   AZURE_OPENAI_CHAT_DEPLOYMENT_NAME=<YOUR_AZURE_DEPLOYMENT_NAME>
   GOOGLE_API_KEY=<YOUR_GEMINI_API_KEY>
Usage
Once installed, you can run Clevrr Computer from your terminal.
1. Run the Application: The basic command to start Clevrr Computer is:
python main.py This will launch the application using the default Gemini model and the floating user interface.
2. Choosing a Model: You can specify the AI model (OpenAI or Gemini) using the --model argument:
- For OpenAI:
python main.py --model openai- For Gemini (default):
python main.py --model gemini4. Floating UI: The application includes a floating user interface built with Tkinter. You can disable this floating behavior using the --float-ui flag:
- To disable floating UI:
python main.py --float-ui 0- To enable floating UI (default):
python main.py --float-ui 15. Giving Instructions: Once Clevrr Computer is running, you can provide instructions to the AI agent through the interface (if enabled) or through other means depending on how you’ve configured the application to receive input. The specific instructions will depend on the task you want to automate.
Related Resources
Clevrr Computer GitHub Repo: https://github.com/Clevrr-AI/Clevrr-Computer/