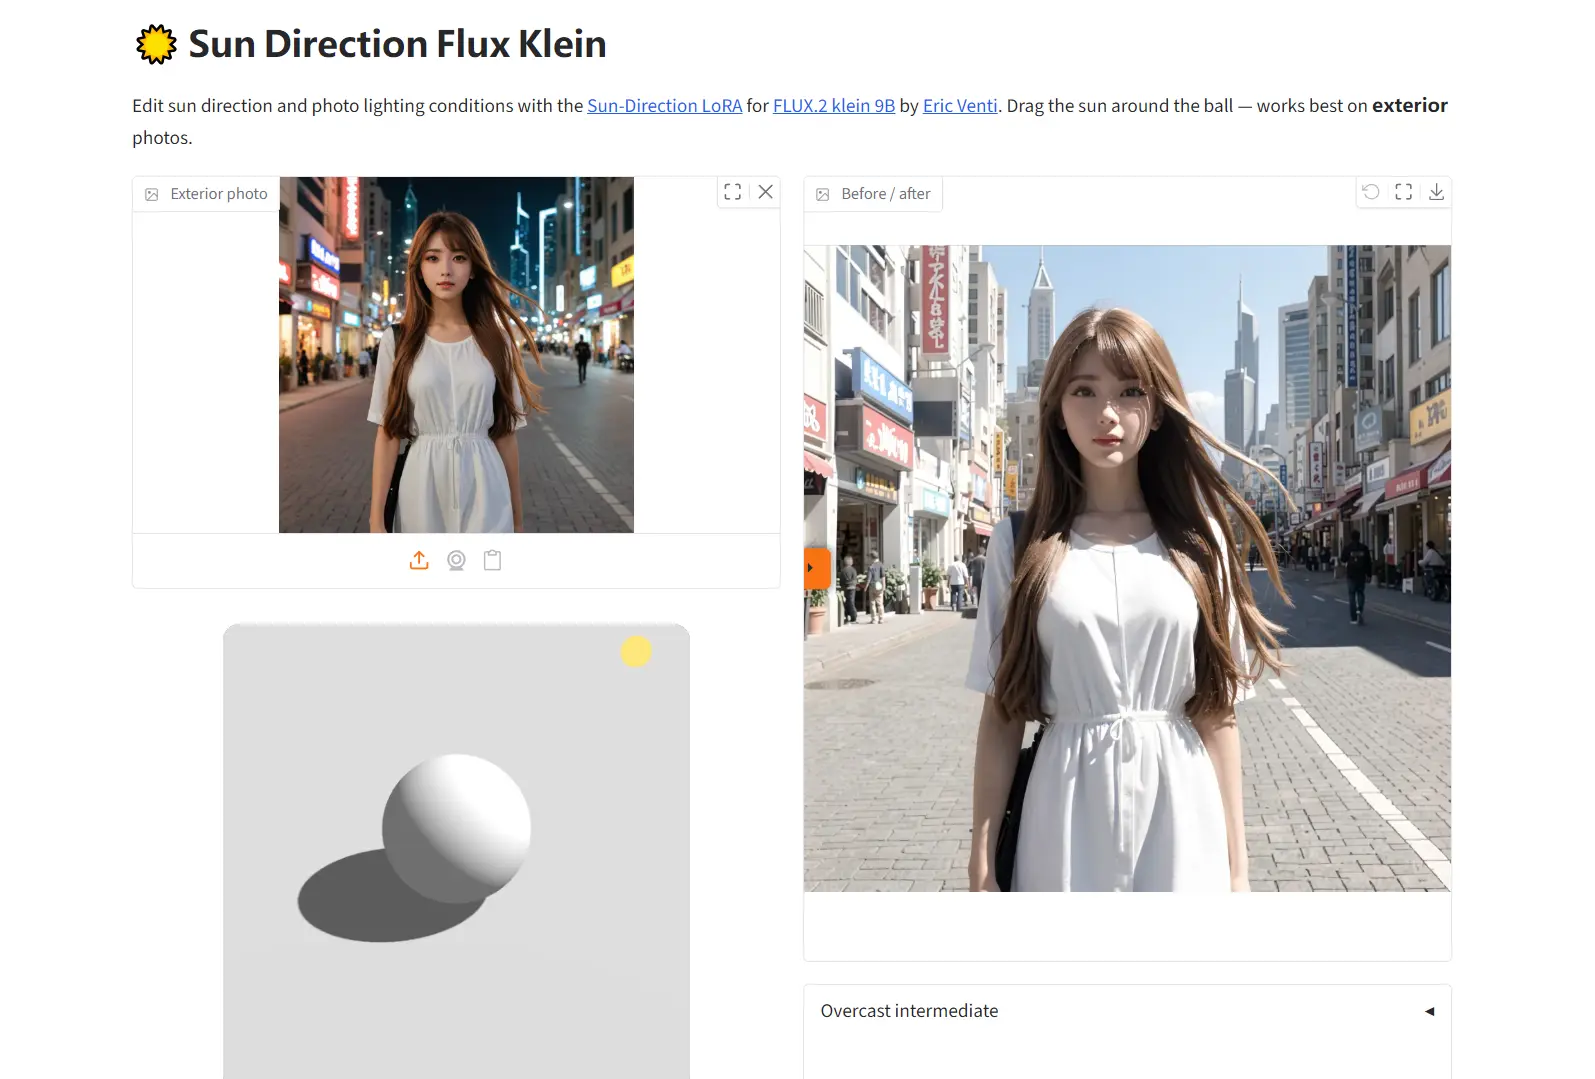
Sun Direction is a free AI image relighting tool designed for exterior photos.
Upload an image, move a sun marker around a 3D sphere, and you will get a relit version with sunlight coming from the selected direction.
The core relighting work comes from a LoRA trained by Eric Venti on top of Black Forest Labs’ FLUX.2 Klein 9B model.
Try it Online
See It In Action
Key Features
- Drag a sun marker around a 3D sphere to set horizontal light direction and sun elevation.
- Use an optional text prompt for surrounding conditions, such as
add a clear blue skyorkeep the cloudy sky. - Leave Auto-relight enabled to update the image after moving the sun, or trigger the result manually with the Relight button.
- Adjust sun intensity, seed behavior, and the lighting-neutralization pass from the Advanced panel.
- Reuse the cached overcast intermediate while testing multiple sun positions on the same photo.
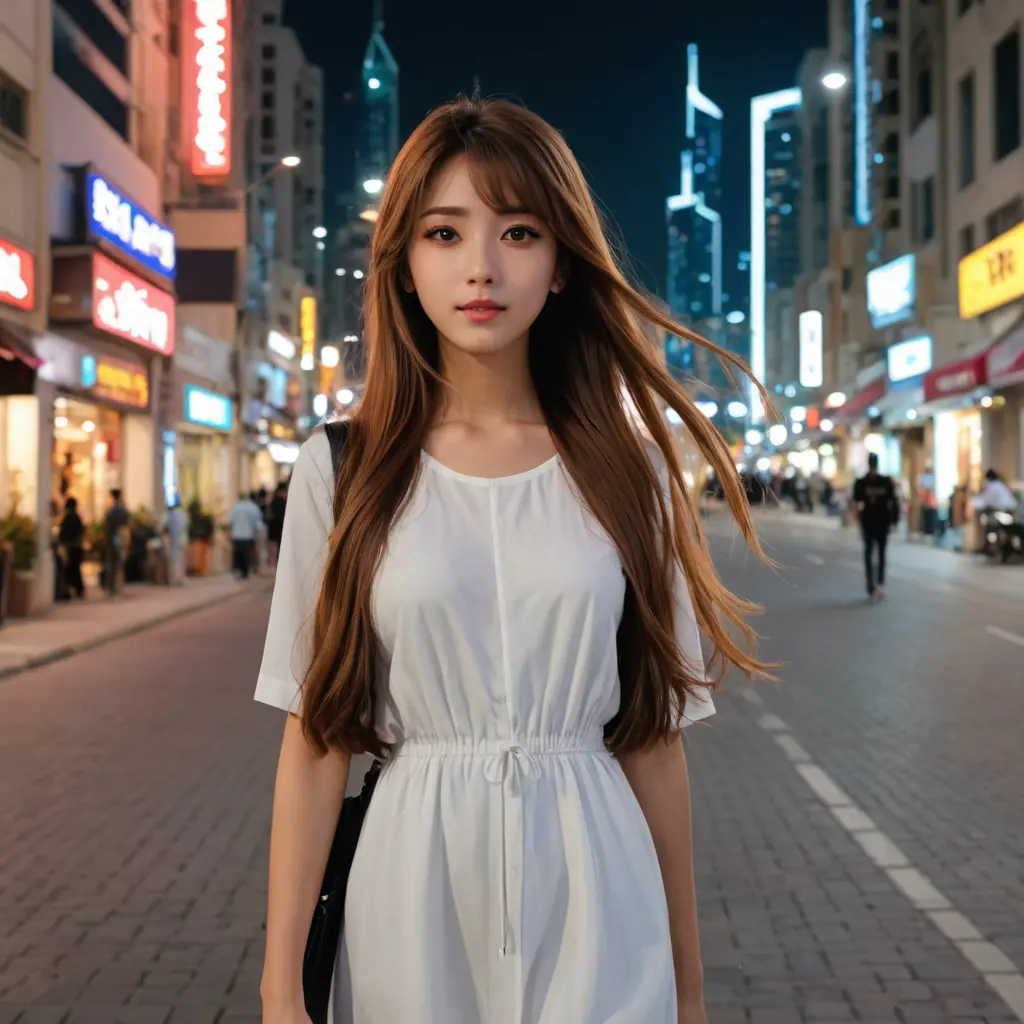
- Compare the original and relit image in a before-and-after slider.
How to Use Sun Direction
Start with an exterior photo that includes a building, landscape, street, vehicle, or other outdoor setting.
1. Open Sun Direction and upload your image.
2. Drag the sun around the sphere. Move it sideways to change where the light comes from and up or down to change the apparent sun height.
3. Keep Neutralize lighting first enabled when the original photo contains direct sunlight or strong shadows. The first pass prepares an overcast-style version of the image before the new directional light is applied.
4. Add a short optional prompt when the sky or overall weather condition should change. For example:
add a clear blue skykeep the cloudy sky
5. Open Advanced when you need more control:
- Adjust Sun intensity to change the brightness of the sphere reference.
- Leave Randomize seed off when you want related results from several sun positions.
- Keep the same seed for a more consistent sequence of relit images.
6. Drag the sphere and let Auto-relight run, or click Relight when you want to generate manually.
7. Review the result in the before-and-after slider. Open Overcast intermediate if you want to check the preparation image before the directional relight.
How It Works
The generation runs in two passes, four steps each, at CFG 1.
Pass one: overcast. The model strips the existing light direction from your photo and turns it into an evenly lit, shadow-free version. The LoRA works best on flat lighting, so this step exists to erase whatever light direction the original photo already had. Sun Direction caches this pass per photo. The tool skips straight to pass two on every sun adjustment after the first run.
Pass two: sun. The model takes the overcast photo plus a small rendered reference sphere lit from the direction you picked and matches the sun in your photo to that reference. The rendered ball is a browser-side Three.js recreation of the same Sphere-Light-Render node Eric Venti used to train the LoRA, so what you see in the browser is close to what the LoRA was trained to read.
Keep the seed locked and move the sun in small steps to build a lighting timelapse. This keeps flicker between frames to a minimum.
Related Resources
- 10 Best AI Image Editors to Edit Photos Fast
- Qwen 3D Camera Control: Generate New Image Perspectives Free
FAQs
Q: Does it work on interior photos?
A: The author built and trained the LoRA on exterior images only. The model never saw interior lighting during training, so results on interior shots are not reliable.
Q: Can I get consistent lighting across a batch of images for a timelapse?
A: Yes. Lock the seed in advanced settings and move the sun in small steps between generations to avoid flicker between frames.
Q: Can I use the output commercially?
A: The underlying FLUX.2 Klein 9B model ships under the FLUX Non-Commercial License. Check the current license terms on Black Forest Labs’ site before using output in commercial work.
Q: Do I need to remove existing shadows myself first?
A: No. The tool runs an overcast pass automatically to neutralize existing light direction before applying the new sun position. You can toggle this step off in advanced settings if your photo is already flat lit.