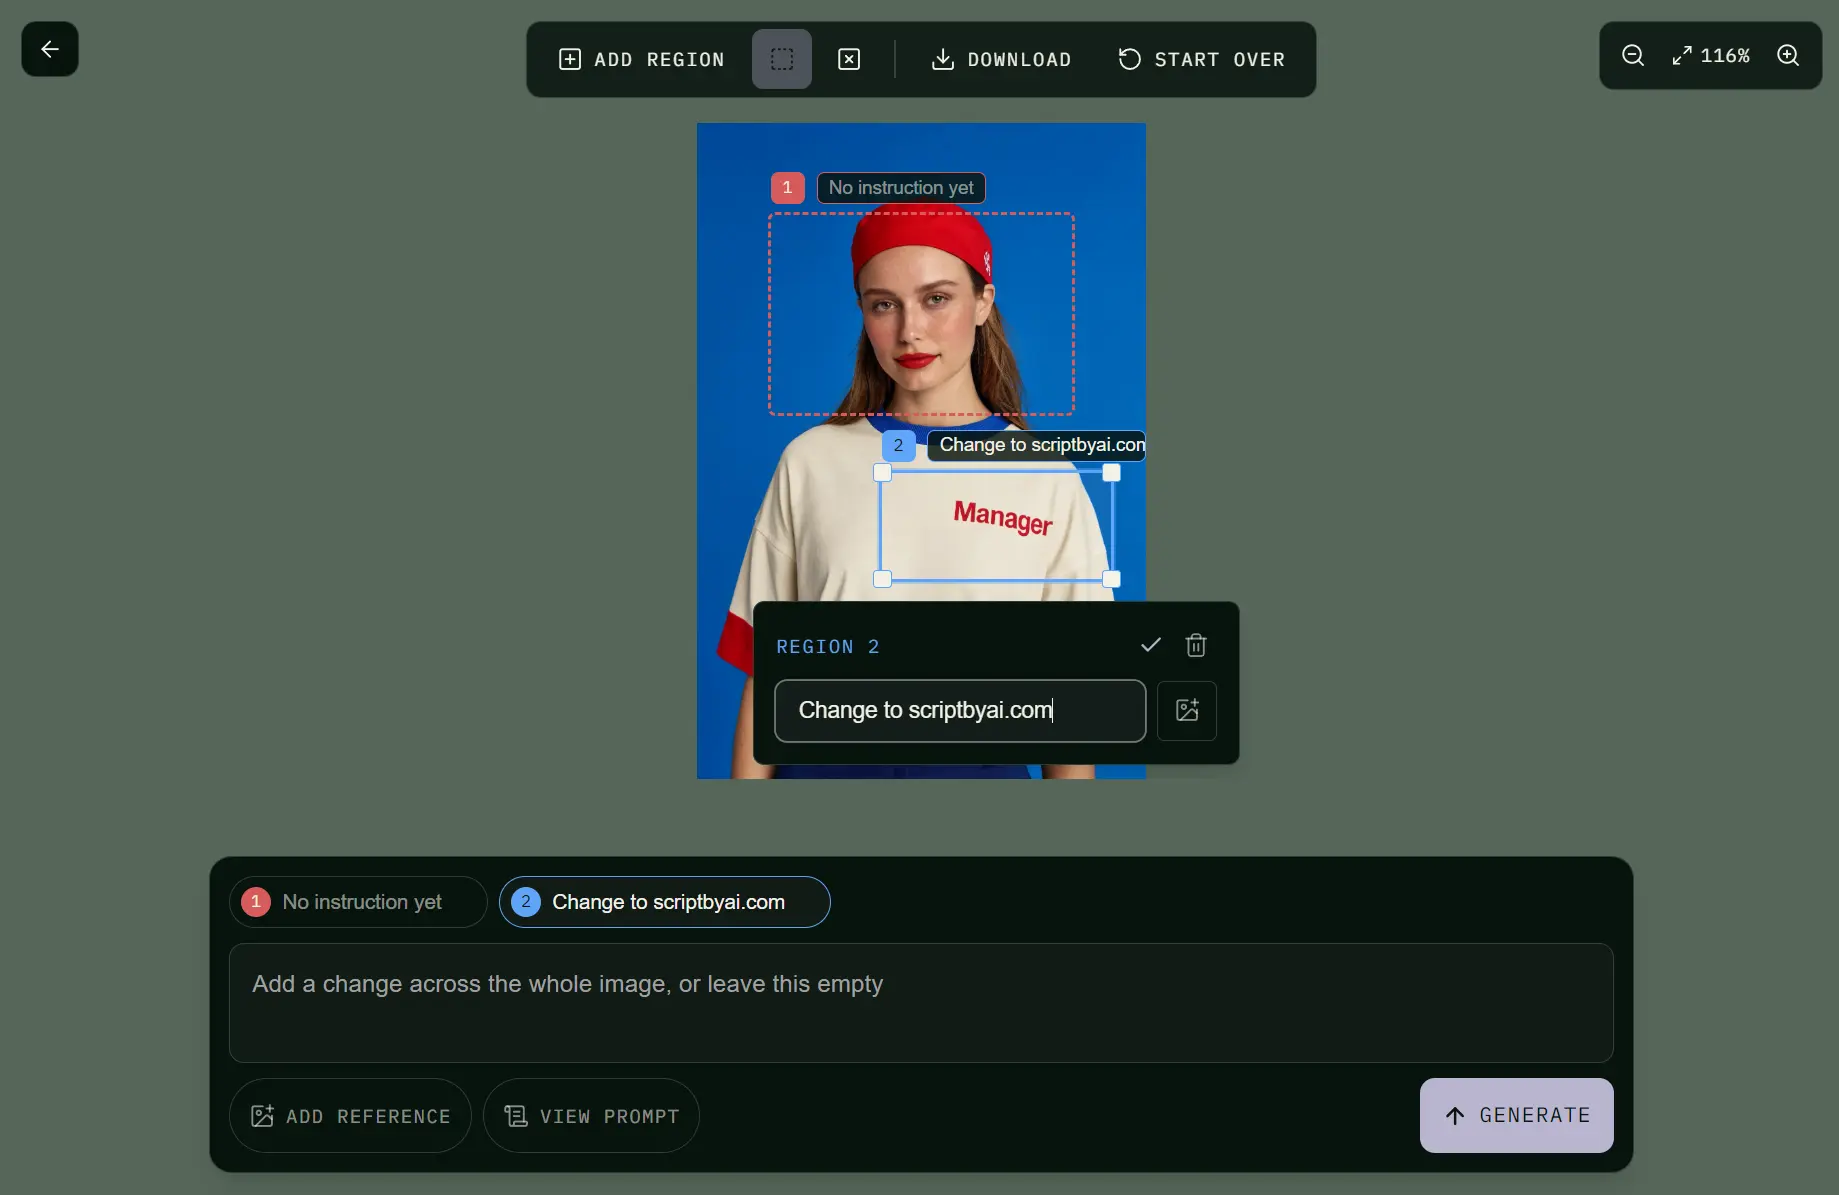
Precise Editing is a free browser-based AI image editor from Black Forest Labs powered by FLUX 3 Image. Upload an image, select the area you want to change, and write an instruction for that region.
You can create several selections before generating. Each selected region can use its own prompt and an optional reference image.
Features
- Select a specific region and write an instruction for that area.
- Create multiple edit regions before generating the result.
- Attach an optional reference image to an individual region.
- Use a separate full-image prompt for changes that affect the complete frame.
- Recolor, replace, remove, reposition, or rewrite selected content.
- Edit text inside an existing image.
- Download the generated result directly from the browser.
My Test
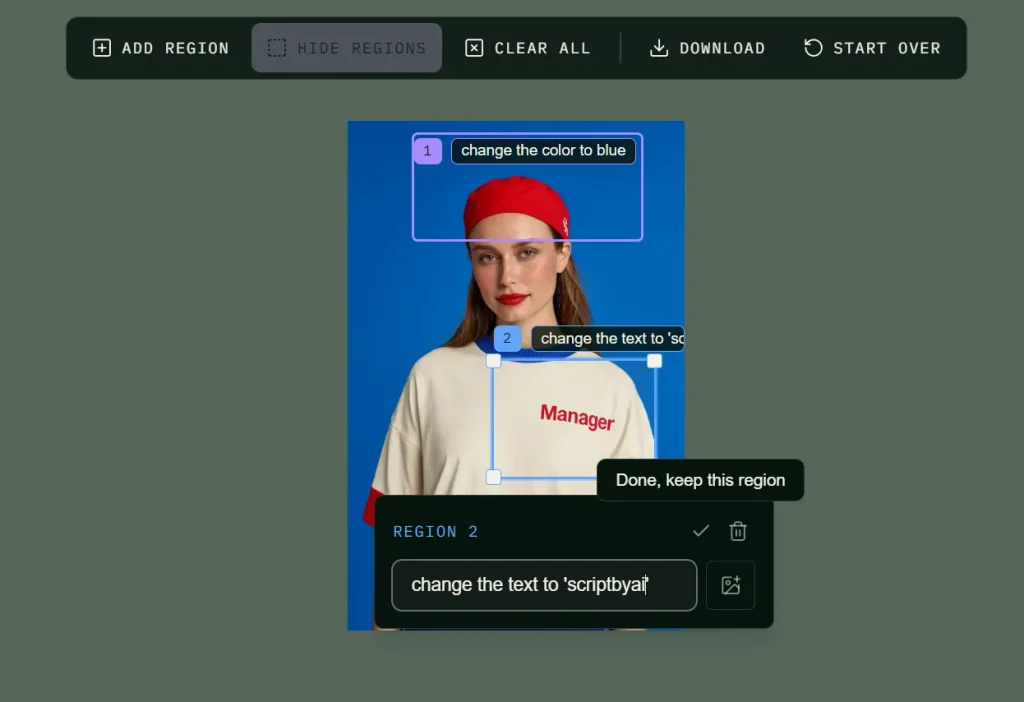
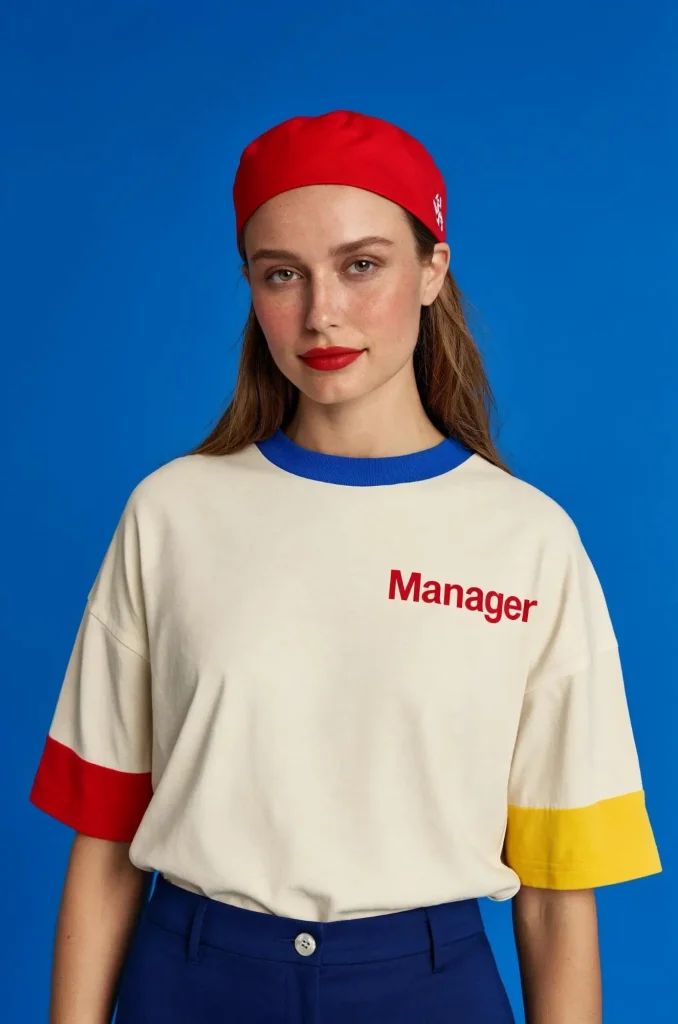
I tested Precise Editing with a portrait of a lady wearing a red hat and a T-shirt printed with the word “manager.” I created one selection around the hat and another around the shirt text, then entered a different instruction for each region.
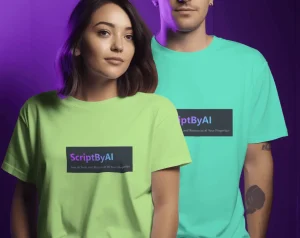
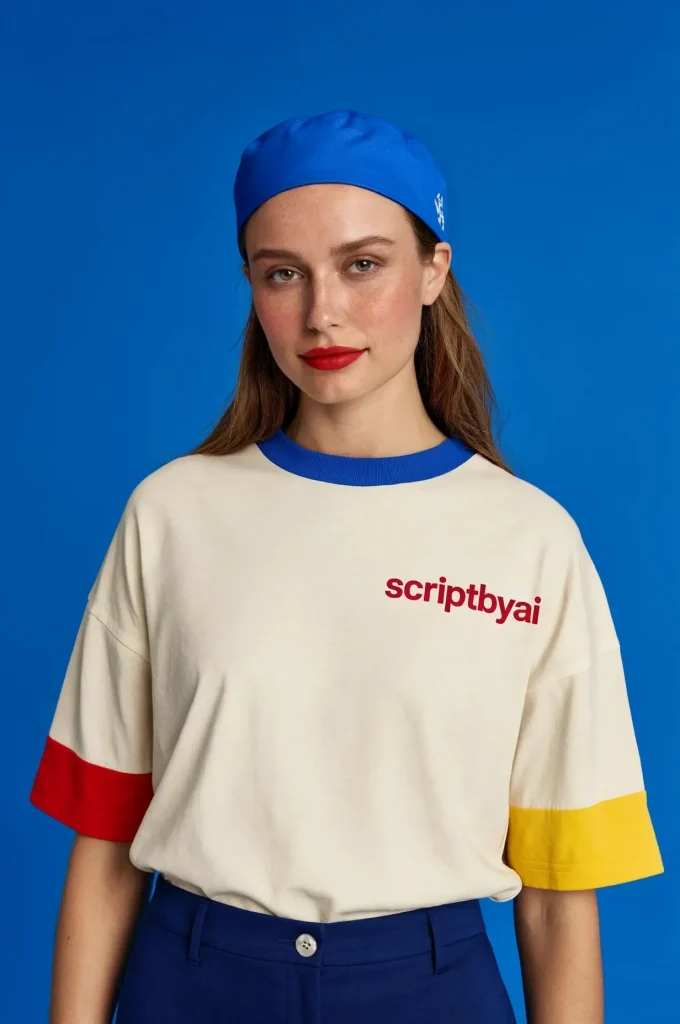
The generated image changed the hat color and replaced “manager” with “scriptbyai.” The new word followed the shirt texture and folds, and I did not see obvious pasted-on edges or halos around the replacement.
How Precise Editing Works
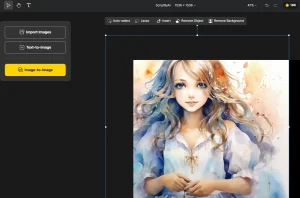
The Select tool defines the part of the image that receives a local instruction. Each selection has its own prompt, and you can attach a reference image when the edit needs an additional source.
FLUX 3 Image uses bounding-box control for targeted edits. Pixels outside a box usually remain unchanged. Nearby shadows, reflections, or lighting can shift when the edited object affects them.
The prompt field at the bottom of the editor works at the image level. Use it for changes that should affect the complete frame. Leave it empty when every requested change already belongs to a selected region.
How to Use Precise Editing
1. Open Precise Editing and upload the image you want to edit.
2. Click Add Region and draw around the first region you want to change.
3. Enter the text prompt for that region. Attach a reference image when needed and mention its assigned name in the instruction.
4. Create additional selections for other local changes and give each region its own instruction.
5. Enter a prompt in the bottom text field only when you also want a change across the whole image.
6. Click Generate, inspect the edited areas and nearby details, and download the result.
Pros
- Free browser access.
- Multiple selected regions can be edited in one generation.
- Each region can have its own instruction and optional reference image.
- Text replacement looked natural.
Cons
- Nearby shadows, reflections, or lighting can change around an edited region.
- A full-image prompt can alter areas beyond the local selections.
Alternatives & Related Resources
More Free AI Tools from Black Forest Labs
- Free AI Outpainting Tool for Social & Product Images – FLUX Outpainting
- Free AI Virtual Try-On With Developer API – FLUX VTO
- Free AI Object & Text Removal Tool from BFL – FLUX Erase